
It looks like the tutorials over on burst-coin.org have already changed a little bit since I installed my Burstcoin wallet, but I’ll do my best to lay out the process and my key learnings here.
In this article, I’m going to go through the process I followed to set up a local wallet for Burstcoin. They have their own wallet software, which is one of the features of Burstcoin. To learn more about what a wallet actually is, visit this link over on Wikipedia.
First you’ll need to make sure your computer has the latest 64-bit version of Java installed. It’s probably best to uninstall any version you already have installed, then head over to Java Downloads. Select the Offline 64-bit version and install that. The first time I tried installing the wallet, I didn’t do this, which may have led to problems.
The second thing to do is head on over to the official Burstcoin site at burst-coin.org and click the download wallet button. This will bring you over to the Download wallet page where you scroll down and choose the one you want for your operating system. Since I’m on Windows and the recommendation is to use Qbundle, I chose that option.

That brings you over to their GitHub page, which can be a bit confusing for some, but just click to download the installer file (which ends with .msi for Windows). At the time of writing this, they’re on version 2.0.2. Once that’s downloaded, go ahead and click it. It’s a pretty small download, so it won’t take long at all! Double click to open, choose Next > and select a folder to install to. I chose my secondary drive D: since my primary is an SSD that’s pretty much only the OS. I’ve read some articles on how installing on a different drive might cause some problems, but it seems to work fine for me (with the exception of the database, which I’ll explain shortly.)
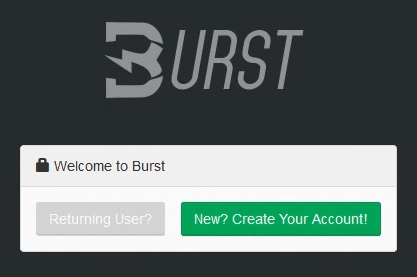
All done? Awesome! There should now be an icon on your desktop for Qbundle. Open that up and the first thing you’ll see is the login screen. Click the big button that says “New? Create Your Account!” and follow the instructions.
This will then create your passphrase, which is IMPORTANT!! Copy this! Keep this! Write this down somewhere! NEVER share this!
Ok cool.
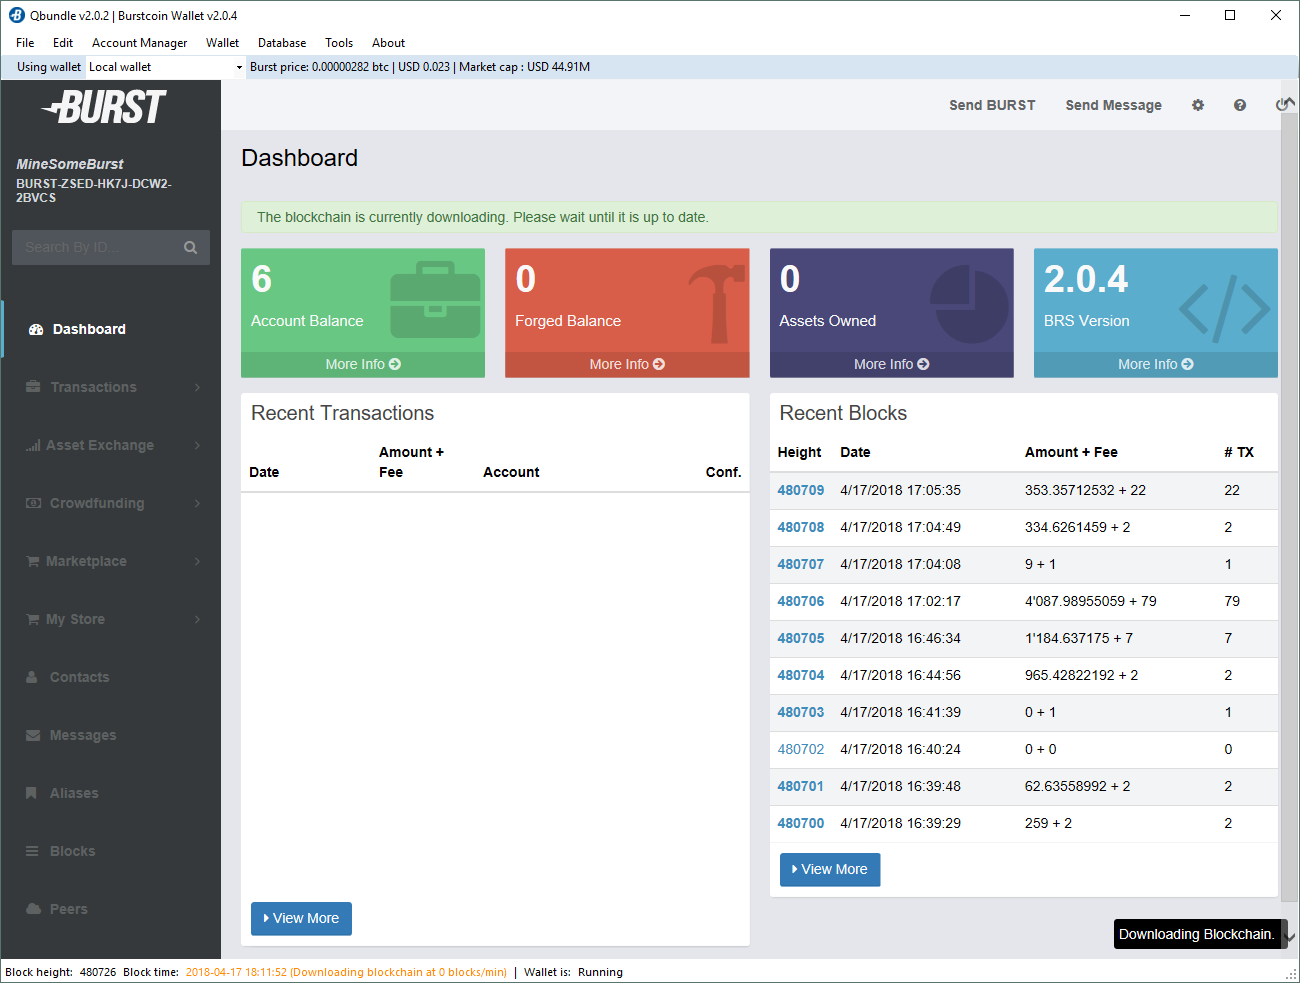
They’ve already updated the Tutorial over at burst-coin.org to use the Portable MariaDB instead of the default.. which is GOOD! I used the default the first time, and it went something like this:
Don’t Do This
- Download a version of the database so I wouldn’t have to sync from scratch (4 minutes)
- Import the database (3.5 hours) — yup, hours
- Sync the data that’s missing. The database only had up until Dec, 2017 so I had to sync the next 4 months. (2+ hours)
- Rejoice!
- Wallet won’t open
- Fixes listed on the releases page don’t work!
- Grumble
- Cry
- Start over
Attempt #2. I swapped over to the MariaDB Portable version.
Do This
- Select Database from the wallet’s top menu
- Choose Change Database
- Select MariaDB Portable
- Click Next and it will prompt you to download and install MariaDB
- For this next part I chose to bootstrap the database (install a previous version just like the last attempt).. but I’m not even sure this worked.
It took me.. get this.. 13h 32m 8s to import the bootstrap database - Waiting for it to synchronize afterwards took another 2 hours to get 10 days worth of records (~20blocks/min)
With the 15 hours to get the database up and running, I’m not sure if that’s faster.. or if their recommended method of letting it sync from day 1 is faster. Anyway, now that I’ve got it running on MariaDB it’s been working (mostly) ever since! I did kind of s**t my pants when I restarted the computer and it started synchronizing from day one again.. but that’s because of some snaffu with my MySQL installation which I use for my day job.
The next step is to send at least 1 BURST to your wallet address to secure your private key. There’s a nice write-up… that I wish I’d seen before I went through the process of buying Litecoin via Coinbase, sending to Poloniex, trading Litecoin to Bitcoin, trading Bitcoin to BURST and finally sending 1 BURST to my wallet… over on getburst.net forum.
I actually spent my 1 BURST a little too early by setting my mining recipient, so I couldn’t change the account name at the same time.. so if you’re transferring in from an exchange like Poloniex, I suggest doing 10 BURST or something so you can have a little wiggle room. If you’re just going to start from 0, you’ll need to either use a faucet or ask the nice people over at one of the forums to send you 1 BURST.
I hope you enjoyed this article! I’ll continue posting my efforts as I become a little more versed in all of this.
Note: This section only applies if you’re running MySQL on the same machine.
If you are running something like WAMP on your machine like I am, I think the simplest solution is to change the ports that MySQL uses in your WAMP configuration files. Both MariaDB and MySQL use port 3306 by default so you’re going to see some errors.
To update it, you’ll need to search your my.ini, wampmanager.conf and php.ini files for port 3306 and change them to 3307. After that change, MySQL & PHP will be using port 3307, eliminating the conflict.
I do still have some issues with the wallet displaying blank from time to time when WAMP is running and the wallet gives me an error about a second DB running, but for now.. that’s where I’m at. I’ll keep looking into that problem.
This video by IMineBlocks is a little outdated, but still really good.

Leave a Reply